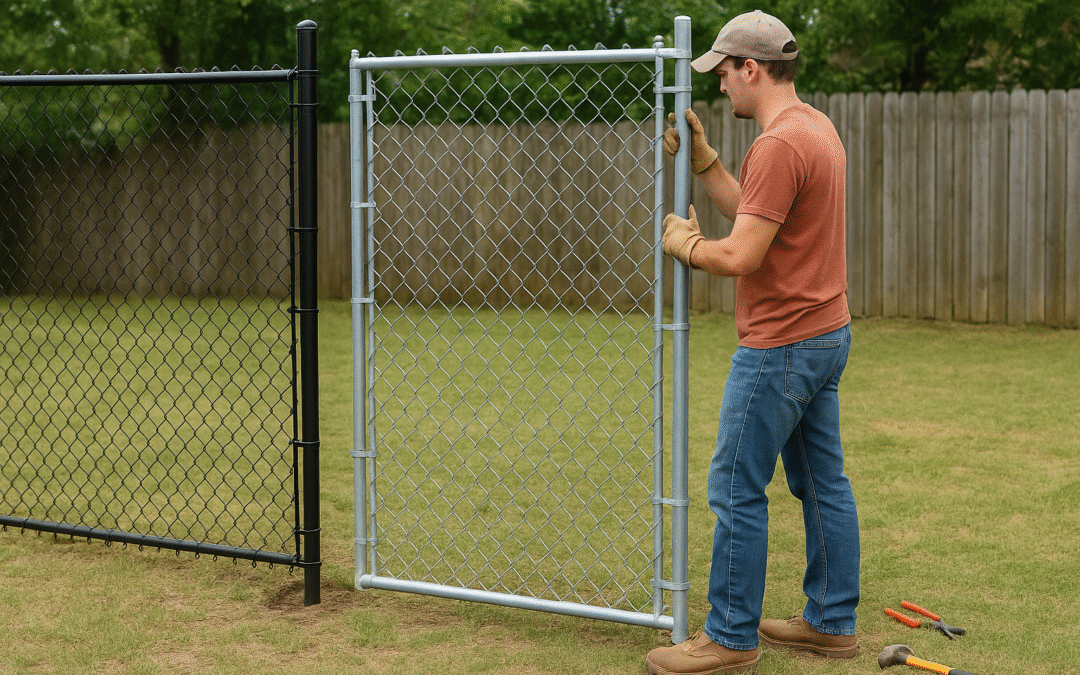
Looking to enhance your yard’s security or create a defined space for pets or kids? Installing a chain link fence yourself can be a cost-effective, achievable weekend project. At Founders Fence, we’ve helped thousands of California homeowners and small businesses protect and define their outdoor spaces. This guide will walk you through every step of the process—from planning to finishing—with tools, pro tips, and FAQs to make your DIY journey easy. Learn more about our fence installation services.
Why Choose Chain Link Fence Panels in CA?
Chain link fencing is one of the most cost-effective, durable, and low-maintenance solutions available. For property owners in California counties such as Los Angeles, Orange, and Riverside, chain link fences are ideal for securing homes, businesses, construction sites, and recreational areas.
Benefits of Installing Chain Link Fence Panels:
- Affordable and quick to install
- Resistant to harsh California weather conditions
- Great for pet containment and property security
Available in galvanized or vinyl-coated options for added durability
Tools & Materials You’ll Need
Before you begin, gather these essentials:
- Fence panels (pre-assembled or DIY kits)
- Line posts and terminal posts
- Post hole digger or auger
- Concrete mix
- Tension bars and bands
- Fence ties or clamps
- Level, tape measure, and string line
- Wrenches and pliers
How to Install Chain Link Fence Panels: Step-by-Step Guide
Step 1: Plan Your Layout
Mark the fence line using stakes and string. Identify where the terminal (end, corner, and gate) posts will go. In CA, always check local fencing codes and property lines before digging.
Step 2: Dig Post Holes
Use a post hole digger or auger to dig holes for terminal and line posts. Holes should be about 6-8 inches wide and 30 inches deep (deeper if you’re in a frost-prone area).
Step 3: Set Terminal Posts
Fill the bottom of the holes with a few inches of gravel for drainage. Then place the terminal posts, making sure they’re plumb and level. Pour concrete and let it cure for 24-48 hours.
Step 4: Install Line Posts
Stretch a string line between terminal posts to keep everything straight. Set line posts every 10 feet along the fence line. Again, use concrete to secure them.
Step 5: Attach Fence Panels
Once the concrete sets:
- Attach tension bands and bars to terminal posts.
- Unroll the chain link mesh and stand it up along the fence line.
- Slide a tension bar vertically through the end of the mesh and secure it to the bands.
Step 6: Stretch the Fence
Use a come-along tool and fence puller to stretch the mesh tightly between posts. The fabric should be taut but not overstretched.
Step 7: Secure the Mesh
Use fence ties or clamps every 12-18 inches to fasten the chain link mesh to line posts and rails.
Step 8: Install Gate (Optional)
Install your gate using the hinges and latch kits provided. Make sure it’s level and swings freely.
Pro Tips from Founders Fence Experts
With years of experience providing chain link fence installation in CA, here are some extra tips:
- Always install posts deeper in areas with loose or sandy soil.
- Choose vinyl-coated mesh for added rust resistance near coastal CA areas.
- Use a helper! Installing chain link fence panels is easier and faster with two people.
Serving All of Southern California
Founders Fence is your trusted local expert for chain link fence panels in CA, serving Los Angeles County, Orange County, Riverside County, and beyond. Our team combines professional-grade materials with years of hands-on experience to deliver top-tier fencing solutions.
We’ve worked with homeowners, HOAs, schools, and contractors to install chain link fence panels that stand the test of time. Read our customer testimonials to see why we’re the preferred fence installers in CA.
Why Choose Founders Fence?
With years of experience installing chain link, wood, and vinyl fences throughout California, we bring expert insights into every project. We offer both DIY materials and professional installation services—so whether you’re a weekend warrior or prefer a hands-free approach, we’re here to help.
- Locally trusted in California
- High-quality, durable materials
- Friendly expert support
- Fast turnaround times
Looking for professional support after your DIY project? Want a quote on high-quality CA chain link fence panels? Call us today or Request a Free Quote!
FAQs: Chain Link Fence Panel Installation
Q: How long does it take to install chain link fence panels?
A: For a small residential yard, you can typically complete the project over a weekend.
Q: Do I need a permit to install chain link fence panels in CA?
A: It depends on your local municipality. Always check with your local zoning department.
Q: Can I install chain link fences on a slope?
A: Yes. Use the “step” or “racked” method depending on your slope type.
Q: How deep should fence posts be for chain link fence installation?
A: Fence posts should typically be buried at least 30 inches deep, or ⅓ of the total post height, to ensure stability. In areas with loose or sandy soil, like parts of Southern California, going deeper (36 inches or more) and using concrete is recommended.
Q: Can I install a chain link fence myself without hiring a contractor?
A: Yes, with the right tools and guidance, DIY chain link fence installation is very doable, especially when using pre-assembled panels. However, for large or uneven properties, professional help from a local expert like Founders Fence can save time and ensure long-term durability.


